Even with the massive selection of maps available across the library of official D&D books, you may still want to upload your own. With Maps, this is a simple endeavor!
To do this, select “+ Open Map Browser” to open the Map Browser again. Now, instead of selecting a ready-made map, we’re going to select “My Uploaded Maps.” Because we haven’t uploaded anything yet, click “Upload Map,” which will open the “Add Uploaded Map” dialogue.
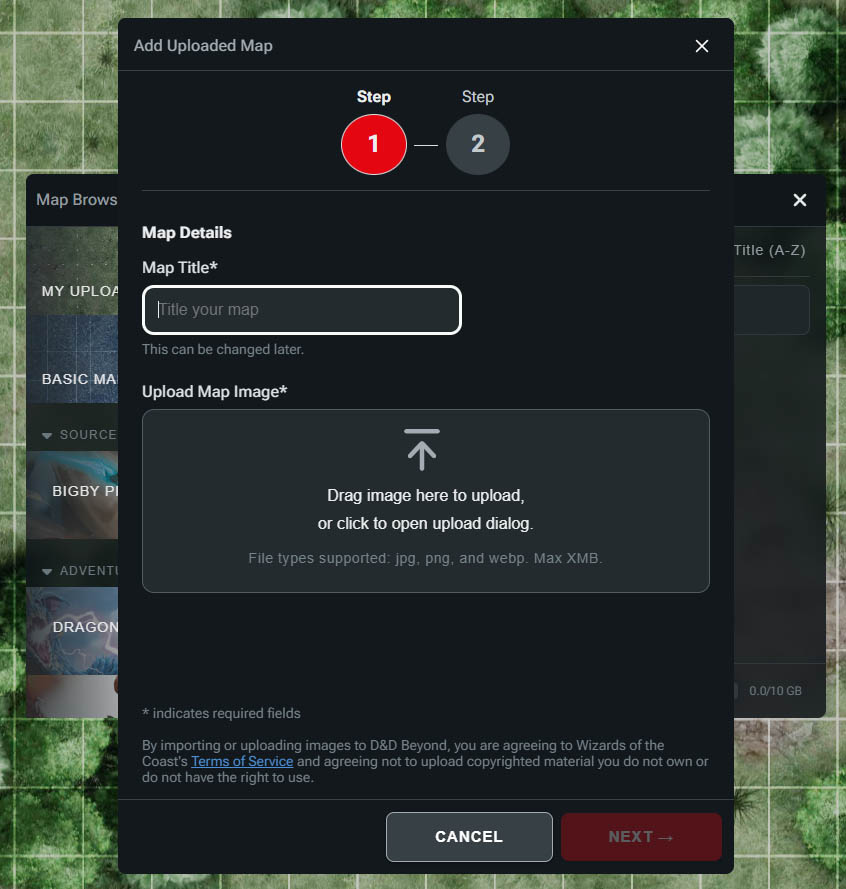
First, give your map a title, and then you can either drag your map into the upload area or click the area to open your computer's file browser. Make sure that the map is the right file type, and keep in mind that Maps comes with a 10 GB total storage limit per user. It’s also important to pay attention to the terms of use at the bottom of the dialogue regarding what images you upload.
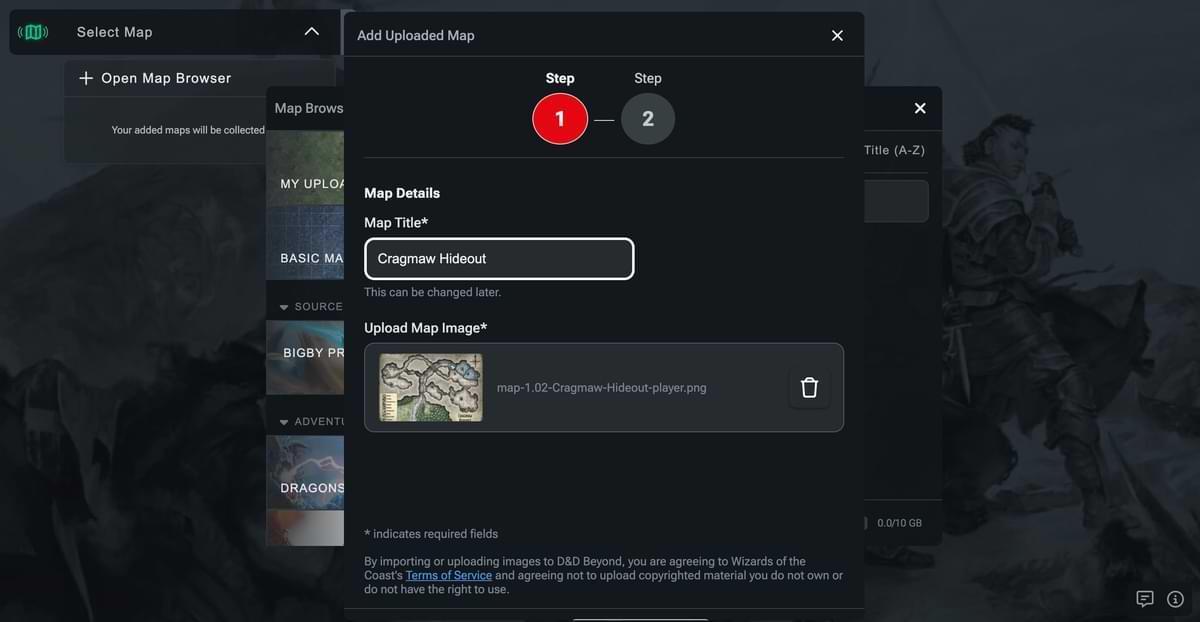
Once you’ve uploaded your map, click “Next,” and you’ll be taken to the scaling dialogue. Here you set the scale of your map.
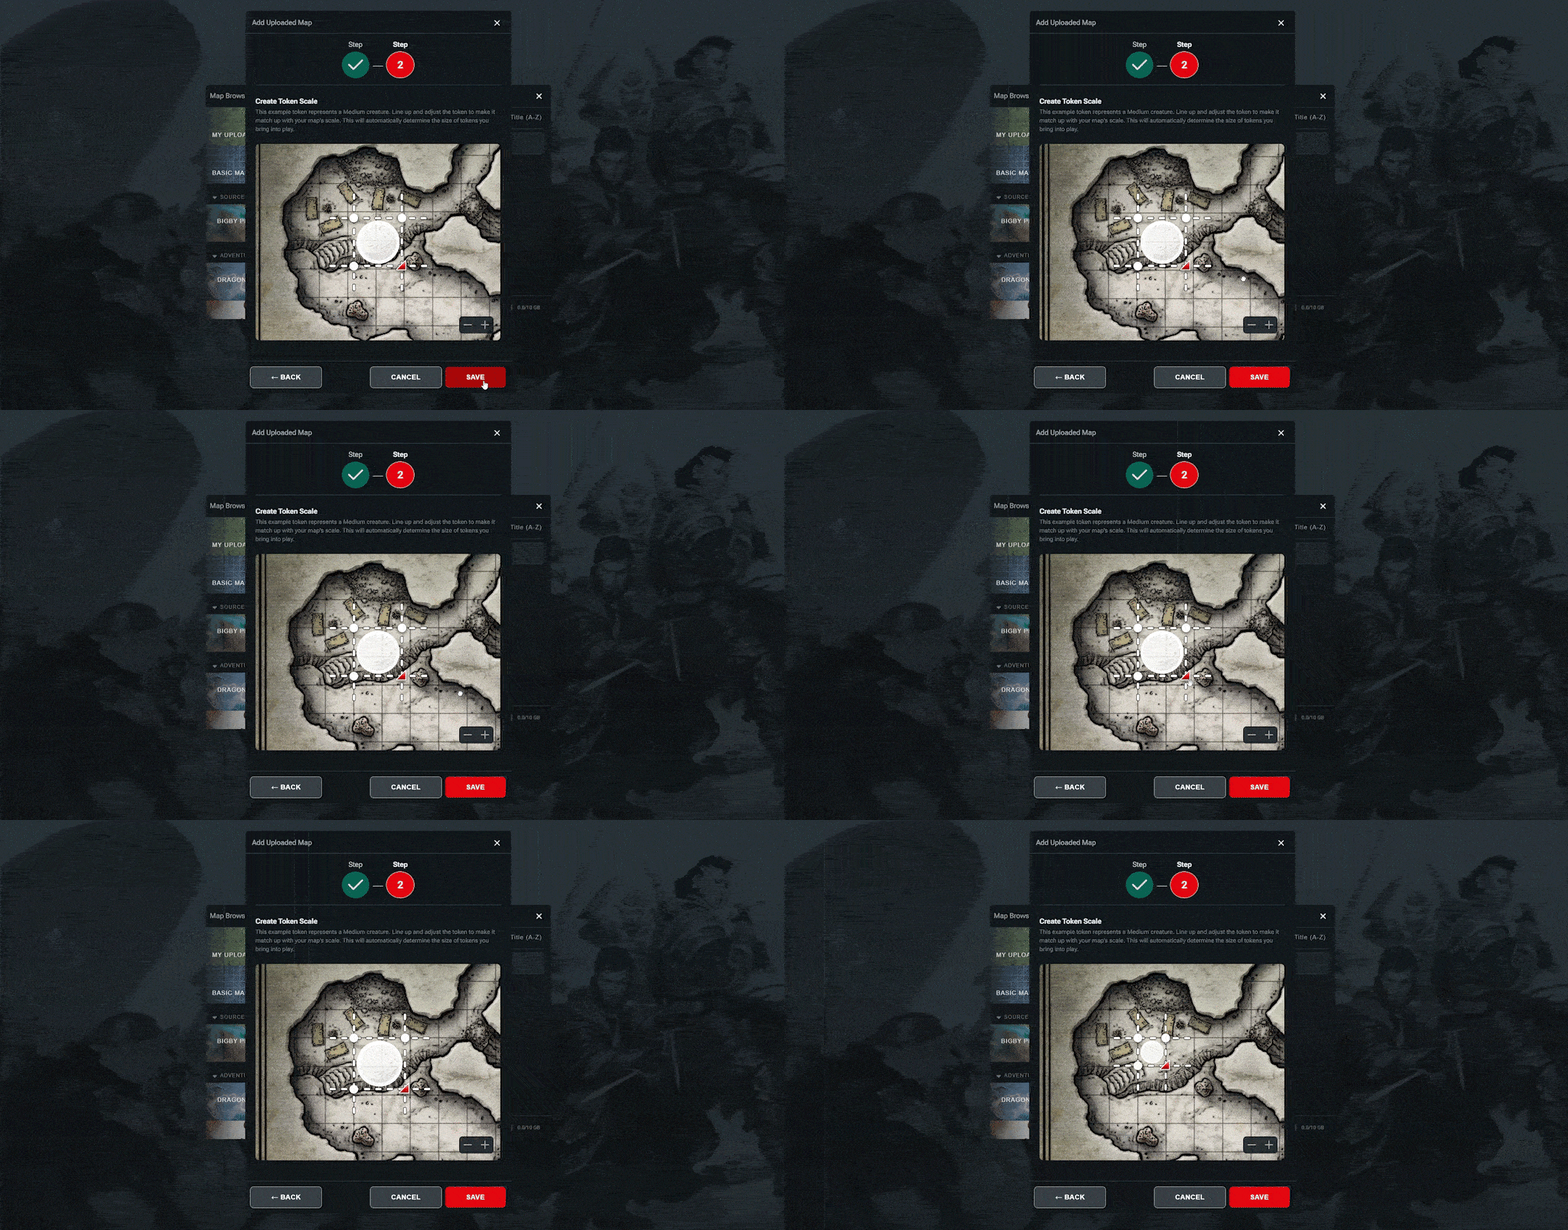
In the middle of the map preview, you’ll see a white circle surrounded by dotted lines, three smaller circles, and a red arrow. The larger circle represents a Medium-sized token, the lines represent grid lines, and the smaller circles represent the corners of a grid square. You want to align these dotted lines and corner markers with the grid of your map if it has one or adjust the scale of your token to suit the map if it doesn’t have a grid.
First, click and drag the large white circle so the top left corner marker is aligned with the corner of a square on your grid.
Then, click and drag the red arrow in the bottom right to rescale the token and the markers. You want to scale it so all the corner and grid line markers line up with the grid on your map.
If you can’t see enough of your map to align things properly, you can click the "-" and "+" icons in the bottom right to zoom in and out.
Once you have everything aligned to your liking, click the “Save” button. You can also click the “Cancel” or “X” button to exit the process, or the “Back” button to change the map you’re setting up.
Now we have a map uploaded and scaled correctly, we can click the “+” icon to add it to our map list, from which we can select it for play.
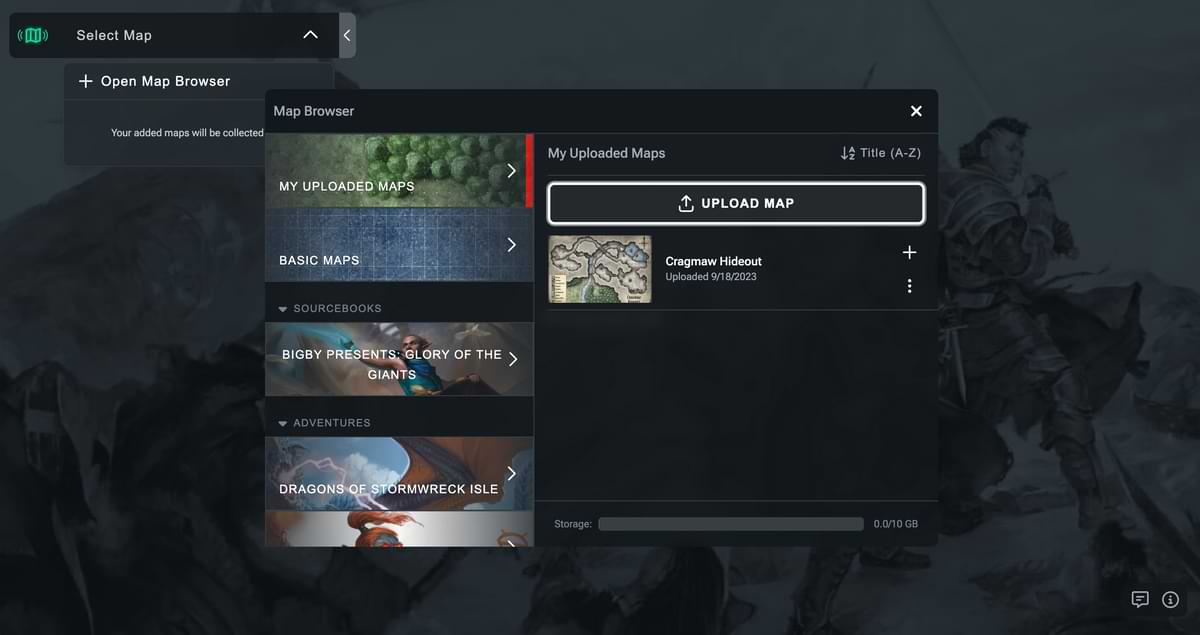
If at any time you want to remove or edit the map, you can do so from the “My Uploaded Maps” section of the Map Browser. Just click the three vertical dots next to any map to access the “Edit” and “Delete” options. "Delete" will remove it from your library of maps, while "Edit" will allow you to rename the map and adjust any scaling.
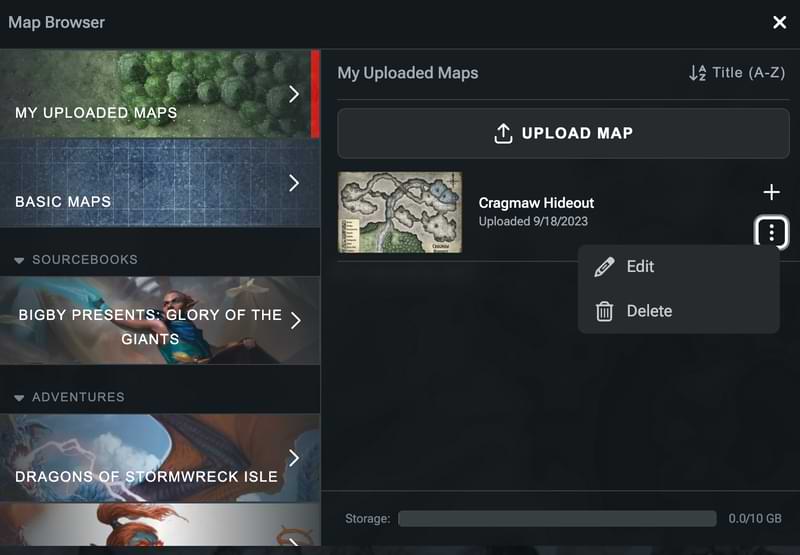
Once you’ve uploaded a few maps, you may want help finding and managing them. In the top right, you can change the sorting order of the maps, while at the bottom of the menu, you can see how much of your storage you’ve used.
Related to