On the main toolbar, you’ll see an icon with three shapes. This is the overlay tool. By either selecting the icon or pressing "O" on your keyboard, you can open the Overlay menu.
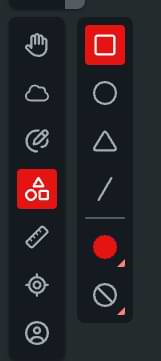
From top to bottom the options are:
- Square/Cube
- Circle/Sphere/Cylinder
- Cone
- Line
- Color
- Pattern
The first four options let you select what shape you’ll be placing and the fifth lets you select what color it’ll be drawn as. The sixth option allows you to apply a pattern so you can tell your Darkness from your Fireball. There are fifteen patterns in total.

Overlay Patterns (Alphabetical Order)
| Bludgeoning | Healing | Poison/Acid |
| Cold | Lightning/Thunder | Psychic |
| Darkness | Nature | Radiant |
| Fire | Necrotic | Slashing |
| Force | Piercing | Water |
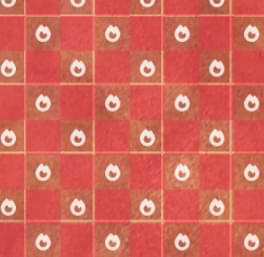
Selecting any pattern will apply it in a checkerboard effect across the overlay.
Drawing an Overlay
To draw an overlay, select a shape, click/tap and hold on the map, and then drag. How the shape is drawn will depend on the shape. As you draw your shape, you’ll see a ruler displayed informing you of the size of your overlay in feet:
- Squares and circles are drawn diagonally from top left to bottom right. Squares are measured from side to side and circles from center to edge.
- Cones are drawn from the origin at the point to the base. Cones are measured from origin to base.
- Lines are drawn from one end to the other and measured the same way. Lines are always drawn 5 feet wide.
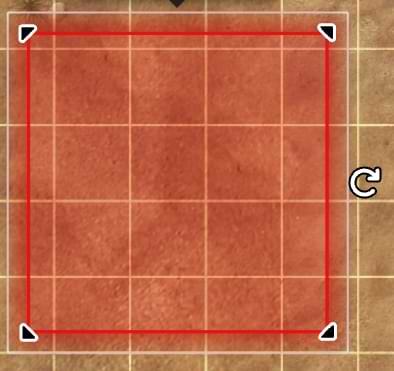
Once you’ve drawn your shape, you can adjust it in several ways. Selecting it and dragging allows you to move it around the map, while dragging the rotate icon will allow you to change its orientation. Dragging any of the triangle handles allows you to adjust its shape, bringing up the ruler and displaying the overlay's origin point as you do so. Squares and circles are resized from their center, while lines and cones are resized from their origins.
When you select an overlay, you’ll also get a menu that gives you further options.
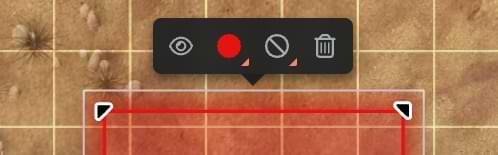
The first option allows you to toggle the visibility of an overlay, which is useful if you have a trap or other hazard that you don’t want to reveal to your players until they trigger it. The second and third options allow you to change the color and pattern of the overlay in the same way you can from the menu bar. The final option allows you to delete an overlay from the map.
Related to